First steps
In this book we will learn the principal techniques involved in developing 3D games. We will develop our samples in Java and we will use the Lightweight Java Game Library (LWJGL). The LWJGL library enables the access to low-level APIs (Application Programming Interface) such as OpenGL.
LWJGL is a low level API that acts like a wrapper around OpenGL. If your idea is to start creating 3D games in a short period of time maybe you should consider other alternatives like [JmonkeyEngine]. By using this low level API you will have to go through many concepts and write lots of lines of code before you see the results. The benefit of doing it this way is that you will get a much better understanding of 3D graphics and also you can get better control.
As said in the previous paragraphs we will be using Java for this book. We will be using Java 10, so you need to download the Java SDK from Oracle’s pages. Just choose the installer that suits your Operating System and install it. This book assumes that you have a moderate understanding of the Java language.
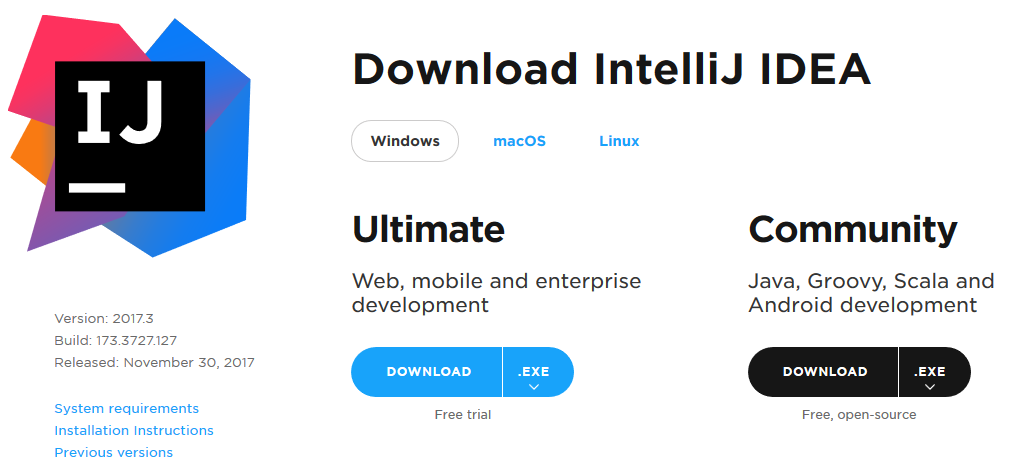
You may use the Java IDE you want in order to run the samples. You can download IntelliJ IDEA which has good support for Java 10. Since Java 10 is only available, by now, for 64 bits platforms, remeber to download the 64 bits version of IntelliJ. IntelliJ provides a free open source version, the Community version, which you can download from here: https://www.jetbrains.com/idea/download/.
For building our samples we will be using Maven. Maven is already integrated in most IDEs and you can directly open the different samples inside them. Just open the folder that contains the chapter sample and IntelliJ will detect that it is a maven project.
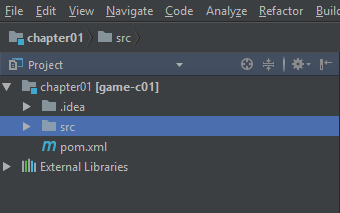
Maven builds projects based on an XML file named pom.xml (Project Object Model) which manages project dependencies (the libraries you need to use) and the steps to be performed during the build process. Maven follows the principle of convention over configuration, that is, if you stick to the standard project structure and naming conventions the configuration file does not need to explicitly say where source files are or where compiled classes should be located.
This book does not intend to be a maven tutorial, so please find the information about it in the web in case you need it. The source code folder defines a parent project which defines the plugins to be used and collects the versions of the libraries employed.
LWJGL 3.1 introduced some changes in the way that the project is built. Now the base code is much more modular, and we can be more selective in the packages that we want to use instead of using a giant monolithic jar file. This comes at a cost: You now need to carefully specify the dependencies one by one. But the download page includes a fancy script that generates the pom file for you. In our case, we will just be using GLFW and OpenGL bindings. You can check what the pom file looks like in the source code.
The LWJGL platform dependency already takes care of unpacking native libraries for your platform, so there's no need to use other plugins (such as mavennatives). We just need to set up three profiles to set a property that will configure the LWJGL platform. The profiles will set up the correct values of that property for Windows, Linux and Mac OS families.
    <profiles>
        <profile>
            <id>windows-profile</id>
            <activation>
                <os>
                    <family>Windows</family>
                </os>
            </activation>
            <properties>
                <native.target>natives-windows</native.target>
            </properties>
        </profile>
        <profile>
            <id>linux-profile</id>
            <activation>
                <os>
                    <family>Linux</family>
                </os>
            </activation>
            <properties>
                <native.target>natives-linux</native.target>
            </properties>
        </profile>
        <profile>
            <id>OSX-profile</id>
            <activation>
                <os>
                    <family>mac</family>
                </os>
            </activation>
            <properties>
                <native.target>natives-osx</native.target>
            </properties>
        </profile>
    </profiles>
Inside each project, the LWJGL platform dependency will use the correct property established in the profile for the current platform.
        <dependency>
            <groupId>org.lwjgl</groupId>
            <artifactId>lwjgl-platform</artifactId>
            <version>${lwjgl.version}</version>
            <classifier>${native.target}</classifier>
        </dependency>
Besides that, every project generates a runnable jar (one that can be executed by typing java -jar name_of_the_jar.jar). This is achieved by using the maven-jar-plugin which creates a jar with a MANIFEST.MF file with the correct values. The most important attribute for that file is Main-Class, which sets the entry point for the program. In addition, all the dependencies are set as entries in the Class-Path attribute for that file. In order to execute it on another computer, you just need to copy the main jar file and the lib directory (with all the jars included there) which are located under the target directory.
The jars that contain LWJGL classes, also contain the native libraries. LWJGL will also take care of extracting them and adding them to the path where the JVM will look for libraries.
Chapter 1 source code is taken directly from the getting started sample in the LWJGL site (http://www.lwjgl.org/guide). You will see that we are not using Swing or JavaFX as our GUI library. Instead of that we are using GLFW which is a library to handle GUI components (Windows, etc.) and events (key presses, mouse movements, etc.) with an OpenGL context attached in a straightforward way. Previous versions of LWJGL provided a custom GUI API but, for LWJGL 3, GLFW is the preferred windowing API.
The samples source code is very well documented and straightforward so we won’t repeat the comments here.
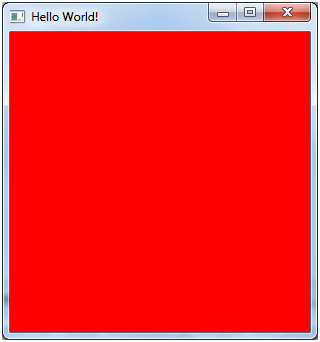
If you have your environment correctly set up you should be able to execute it and see a window with a red background.
The source code of this book is published in GitHub.